The buttons you will actually use
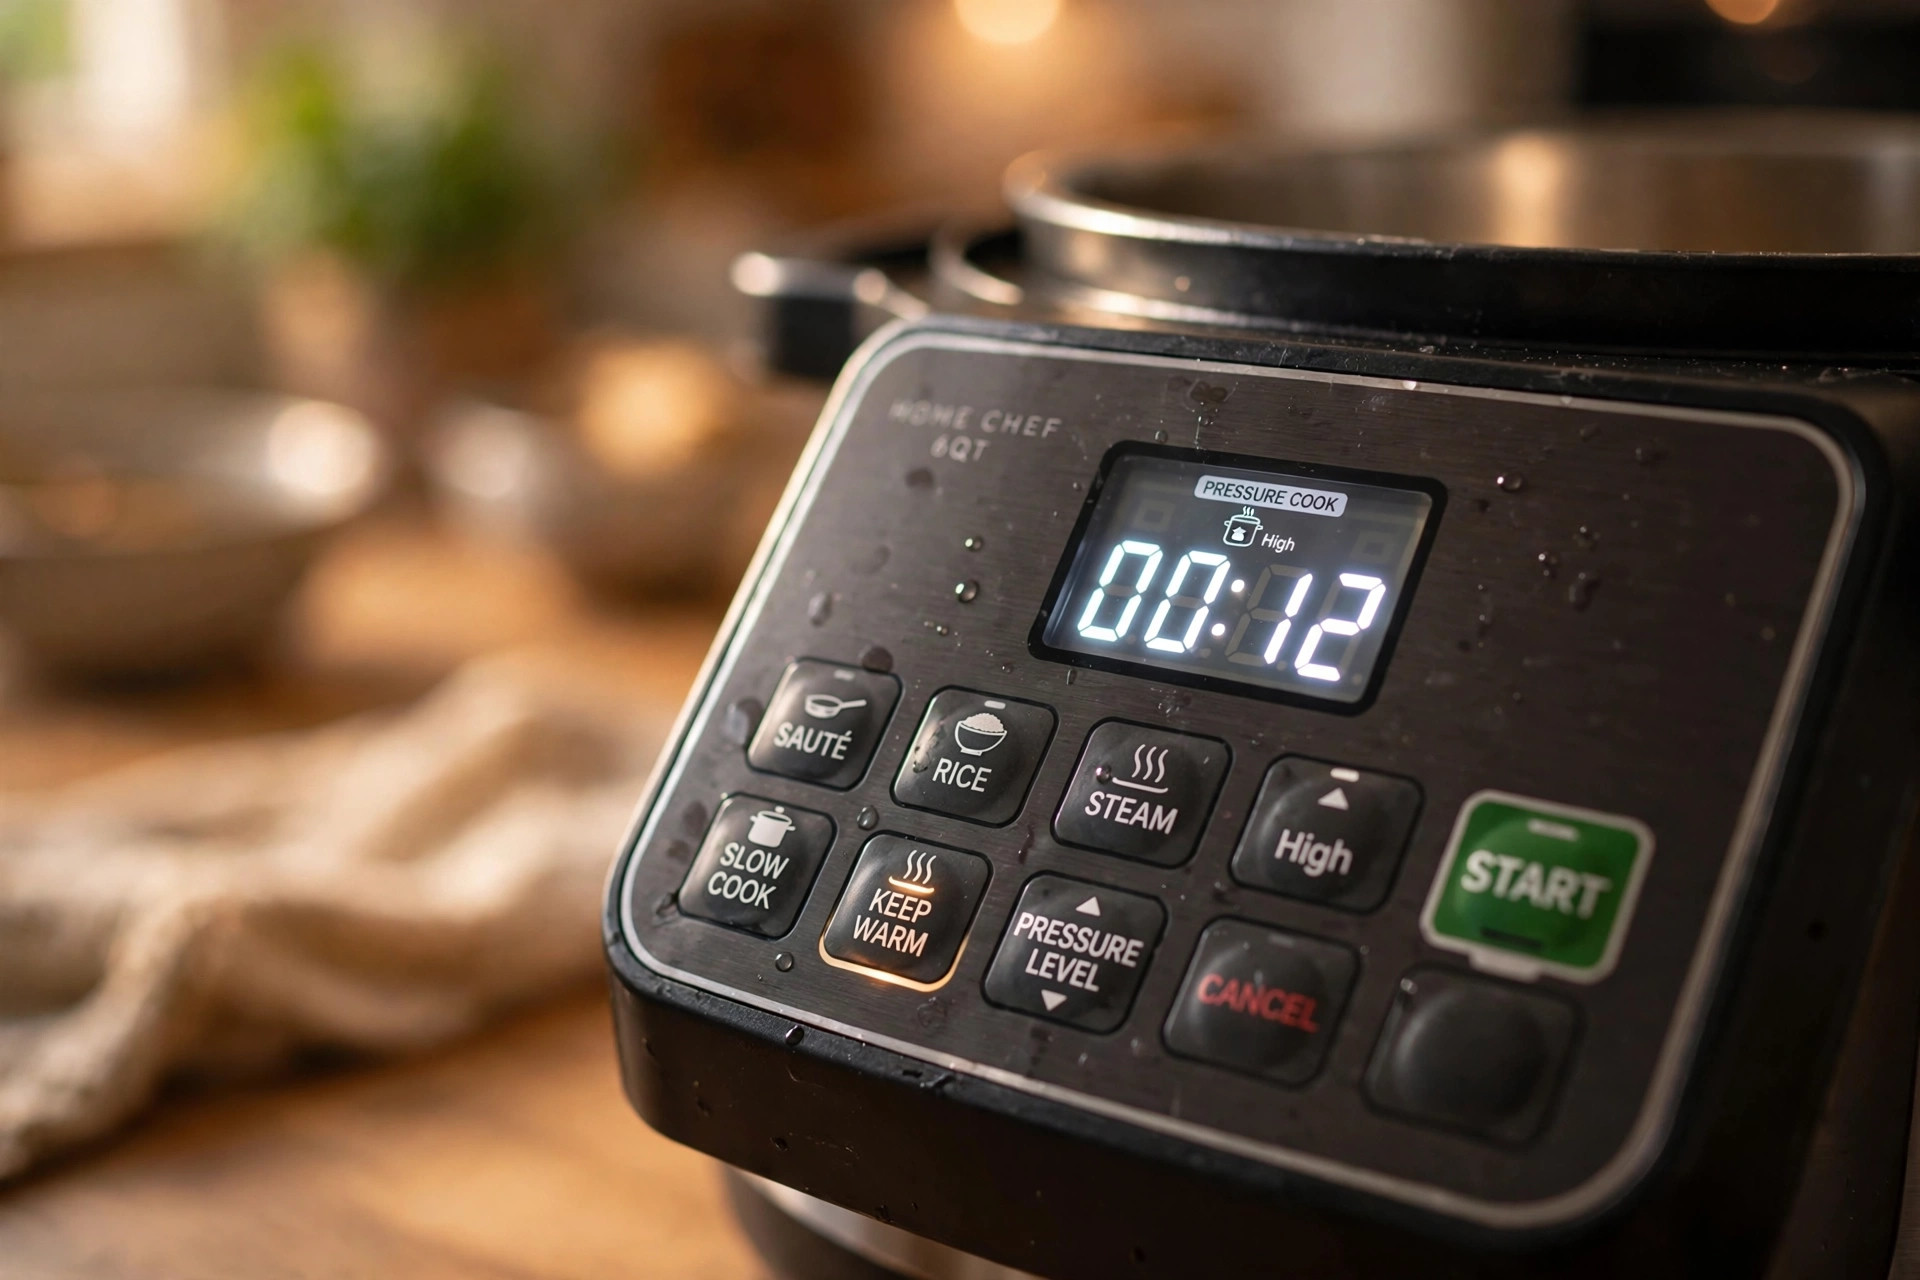
The button that does almost all the work is Pressure Cook. It is the one every recipe on this site means when it says pressure cook for so many minutes. You set the minutes, the cooker comes up to pressure, and the countdown starts.
On older models that same button says Manual. Same job, older name. If a recipe tells you to press Manual, press Pressure Cook and carry on.
Round out the short list with Sauté, Keep Warm, and Cancel. Sauté turns the pot into a frying pan. Keep Warm holds food at serving heat after cooking. Cancel stops whatever the cooker is doing. Add the plus and minus buttons for changing the time and you have the whole working set. Some models also have a pressure level control. Nearly all home cooking uses the standard setting, so leave it alone unless a recipe tells you otherwise.
Sauté, explained
Sauté is how you brown meat and soften onions before the lid goes on, and how you simmer a sauce down once the lid comes off. Most models let you switch between heat levels with the Sauté button itself or an adjust button. Start in the middle. The pot gets hotter than most people expect, and onions can go from soft to scorched while you are reaching for the garlic.
Two habits keep Sauté useful. Let the pot heat up before food goes in, so onions soften instead of steaming in their own juice. And always press Cancel when you finish. The lid should never go on while Sauté is still running. The cooker will take a long time to seal, and the bottom of dinner can burn while it tries.
The preset buttons
Soup, Meat/Stew, Bean/Chili, Rice, Porridge, Cake. The names shift a bit from model to model, but the idea never changes. Each preset is a saved cooking time with a heat pattern the maker picked in advance. Nothing inside the pot knows you pressed Bean. It cooks for the minutes it was told to cook.
That is why recipes here skip the presets and give you minutes instead. A preset cannot know whether your stew meat is cut in small cubes or sitting in the pot as one big roast. Minutes plus the size of the food is the honest way to write a recipe. If a preset happens to match the time you need, pressing it does no harm. Just know the number is doing the work, not the name.
Slow Cook and Yogurt
Slow Cook turns the cooker into a slow cooker, sort of. The heat comes only from the bottom, and it runs gentler than a countertop slow cooker, where the heat wraps around the sides of the crock. A recipe written for the low setting in a slow cooker may need more time here, and a plain glass lid works better for the job than the pressure lid.
Yogurt is the one preset with a real second job. It heats milk gently and then holds it at the steady warmth yogurt cultures like while the yogurt sets. If you never plan to make yogurt, you will never touch that button. Plenty of good cooks never do.
Delay Start and Keep Warm
Delay Start lets you load the pot and have it begin cooking later. It suits plain foods that sit safely at room temperature, like steel cut oats or dried beans in water. Set it before bed and breakfast cooks itself while you sleep.
Use it with care, though. Raw meat, eggs, and dairy should not sit warm in a closed pot for hours waiting on a timer. That is how food poisoning happens, said plainly. If dinner involves raw chicken, Delay Start is not your friend. Cook the food when you load the pot and let Keep Warm hold it instead.
Keep Warm switches on by itself when pressure cooking ends on most models, and it holds food above the temperature where bacteria grow well. Dinner can wait there happily for an hour. It is not a cooking setting, though, and food left on it all day will dry out and lose its texture.